Installation and upgrade


|
Installation and upgrade |
|
|
UNIX/Linux To install or upgrade XBM on a UNIX/Linux system::
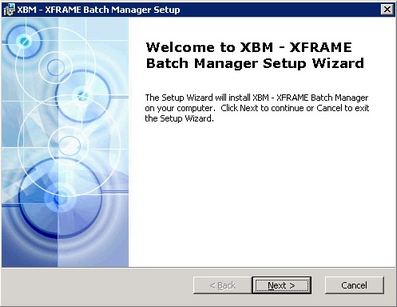
Windows To install XBM on a Windows system, retrieve the setup file from the distribution media (CDROM, DVD, Web, etc.) and run it. The setup file is an MSI installer file, named XBM-windows-<arch>-<version>.msi (i.e. XBM-windows-32-4.2.0.msi). To install it, you must have administrative rights.
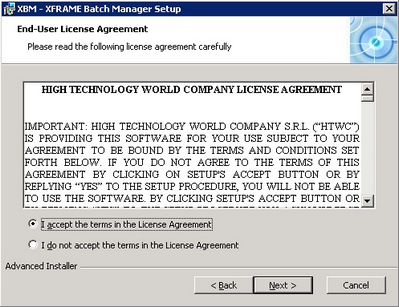
Click "Next" to show the license terms:
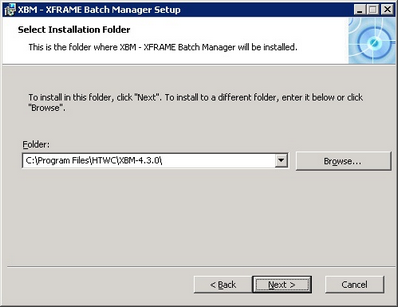
Accept the license terms and click "next", then select the destination folder (afterwards referenced as $XBMHOME):
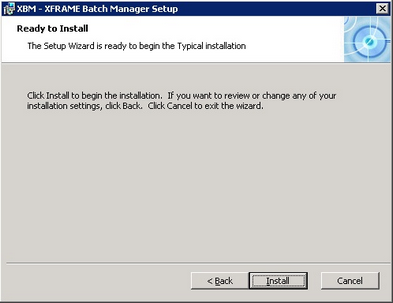
Then press "Install" to start the installation.
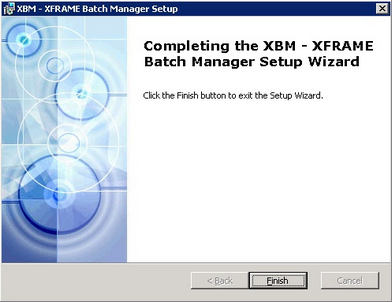
When the installation is completed, the following screen is shown:
Database setup XBM uses a relational database to store its data. The first time XBM is installed, a database schema must be created and setup. The database schema must be created using the native utilities of the RDBMS itself (i.e. sqlplus). These are some samples to initialize the schema, for different database types: Oracle
create tablespace "XBM" logging DB2 create schema xbm authorization xbm; MySQL create database if not exists xbm; Once the database schema is defines, the XBM tables must be created. Tables creation may be performed automatically by means of XBM Datasource Manager (refer to the XBM Datasource Manager section), or manually using the scripts contained in $XBMHOME/scripts. When tables have been created, XBM sessions and users must be defined: XBM Datasource Manager can be used to achieve this. Upgrading XBM database to version 4 In order to upgrade an existing XBM installation to version 4, XBM database must be modified. To do this, follow these steps:
# sqlplus xbmuser/password @$XBMHOME/scripts/upgrade.3.to.4.oracle.sql
Working environment setup To make use of XBM command line tools, the following variable must be added to the environment definition:
I.e. UNIX/LInux: export XBMHOME=/opt/xbm Windows: set XBMHOME=C:\xbm
|